The 11th day’s post of Merpay Tech Openness Month 2021 is brought to you by celia from the Merpay iOS team.
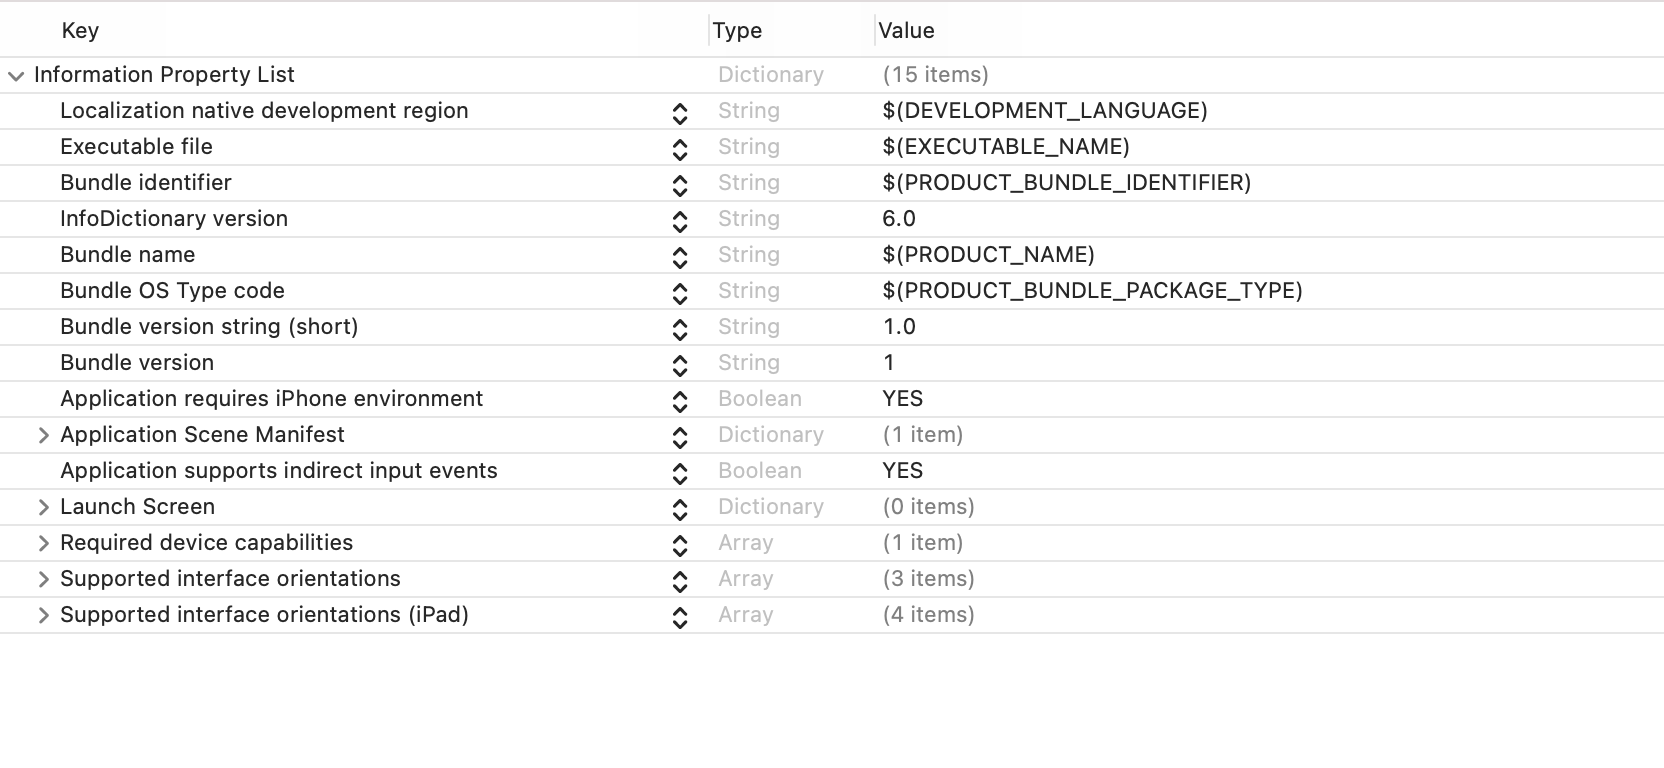
As iOS engineers, we come across the Info.plist file in an iOS project every early in the adventure. It’s a settings file we touch once in a while, without thinking too much about it. We know that it’s a structured text file that contains essential configuration information for a bundled executable, or occasionally it’s used as a form of storage. Technically, it’s an XML file that can store key-value pairs, and persist between instances of an application’s execution.
Xcode has a pretty nice editor for property lists, we can add or remove keys, or change their values directly very easily. However, as the project is scaling up and gets more sophisticated, special needs like separation of configuration and dynamic injection arise. In this article, I want to share some tools and techniques we use in setting the Info.plist file in the Mercari app to keep everything manageable as the total number and complexity of the settings increase.
xcconfig (Xcode build configuration files) – Level of difficulty: ★
In a big project like the Mercari iOS app, many targets can be built and run as individual apps in the Xcode workspace, and an individual build target may have different build and environment settings, like different versions of backend URLs, compiler flags etc. Using xcconfig files to manage the configuration removes the complexity from Xcode, and we get the extra benefit that it can be managed as a plain text file that is friendly to version control tools and is accessible in code.
All values inside a project’s settings info.plist file can be defined as a key/value pair in an xcconfig file instead of direct hardcoding. This allows different projects to customize the value, or share the same value across multiple targets.
Creating and using xcconfig file for info.plist
To create an xcconfig file, go to File -> New -> File… and choose Configuration Settings File under the Other section:

After it’s created and added into your Xcode project, map a configuration settings file to a build configuration by going to the project editor -> PROJECT -> Info -> Configurations and choose the file you just created:

Then your xcconfig file is associated with the project and ready to be filled! If you have any questions about set up, here is an excellent tutorial from Xcode Help.
Many articles talk about how to use it to manage project settings, for example, this blog post from NSHipster, so please allow me to skip it and only talk about using it for managing Info.plist.
For example, when setting usage descriptions for the camera and photo library, set the following in the xcconfig file:
INFO_USAGE_DESCRIPTION_CAMERA = Use camera to take photos of the products you want to sell, or read QR Code.;
INFO_USAGE_DESCRIPTION_PHOTOLIBRARY = To access your photo library to search and display photos.;
And define the key in the info.plist:

Then your info.plist can map the value to the one that is defined in the xcconfig file.
Share xcconfig file across different targets and projects
You can use the following syntax to introduce other configuration files by adding the following:
#include "path/to/File.xcconfig"
For example, we have a Base.xcconfig file that defines shared definitions and includes them in all project-specific xcconfig files. As of now, we don’t need to set different values for the same key regarding info.plist settings, so basically, everything is defined in the Base file. But this setup will become handy if something like that is needed in the future.
Dynamic Injection with PlistBuddy – Level of difficulty: ★★
The content in this section is very similar to the post by @kitasuke(in Japanese) explaining how to use PlistBuddy to specify domains to exclude from App Transport Security (ATS).
If you are familiar with ATS or PlistBuddy, or have read the above, feel free to skip this section.
Now that we know xcconfig files can help us define specific settings, but some information can only be known during build time or run time. For example, can we set Info.plist based on which target is currently running? The answer is yes, and how ATS settings are managed is a great example.
After ATS is introduced in iOS 9, secure connections are enforced between an app and its backend, so that if a request is not made over HTTPS, it will return an error by default.
This is a great improvement, but there are cases where you do need to access a domain that does not meet its requirements. For example, accessing your company’s server (or running a copy of your backend on your laptop), loading an insecure domain in WebView, interacting with third-party services for gathering analytics, etc. In that case, the domain will have to be specified in the Info.plist to be excluded from ATS.
Using PlistBuddy, a built-in program in MacOS, you can edit the values of a plist in the command line. I won’t go into too much detail about it here, because there are many resources available online. The program sits under /usr/libexec/PlistBuddy of your system. You can check out its documentation by sending /usr/libexec/PlistBuddy --help in your terminal.
We can write a shell script and execute it in the Build Phase to set ATS settings. This takes a bit of time to set up initially but provides a great return on investment when the domains to adopt increase or settings get more complicated. For example, running the following command:
/usr/libexec/PlistBuddy -c Add NSAppTransportSecurity:NSExceptionDomains:foo.com:NSExceptionAllowsInsecureHTTPLoads bool trueWill add the following into the Info.plist:
<key>NSAppTransportSecurity</key>
    <dict>
        <key>NSExceptionDomains</key>
        <dict>
            <key>foo.com</key>
            <dict>
                <key>NSExceptionAllowsInsecureHTTPLoads</key>
                <true/>
            </dict>
        </dict>
    </dict>
And because you have access to build settings in the shell script, it’s possible to set different values according to the build setting:
case ${PRODUCT_NAME} in
    "DEV")
        `/usr/libexec/PlistBuddy -c Add NSAppTransportSecurity:NSExceptionDomains:dev.foo.co.jp:NSExceptionAllowsInsecureHTTPLoads bool true`;;
    "Production")
        `/usr/libexec/PlistBuddy -c Add NSAppTransportSecurity:NSExceptionDomains:foo.co.jp:NSExceptionAllowsInsecureHTTPLoads bool true`;;
esac
Take advantage of the Preprocessed-Info.plist
Notice that when you run the script to edit the Info.plist, it creates diffs in the file every time. This can be hard to manage if you don’t want to push it to remote or have to reset it manually every time you work on the project.
The Preprocessed-Info.plist file is generated every time the project is built, and it stays in the built product and does not affect your codebase. It works the same as the Info.plist file but is a better choice for dynamic manipulation of the Info.plist values.
Dynamic Injection with CI environment variable – Level of difficulty: ★★★
In the last section, we talked about how to dynamically set the Info.plist when building the Xcode project, without affecting the codebase. Next, I want to dive in a bit deeper: How to load a value that’s stored on your CI and set it into the Info.plist?
To be clear, you don’t need to do this in most cases, and there are reasons why this might not be an effective solution. There is information like third-party service’s API Keys in an Info.plist that you want to avoid hardcoding in the codebase. Saving such information on CI would prevent it from being leaked in code, but because Info.plist is visible to anyone who holds a copy of the app’s ipa file and knows how to decompress it, it does not increase your security level very much.
Still, there could be other reasons such an implementation is desirable, like legal restrictions to keep a piece of information out of your codebase, or a rule that secrets and credentials can only be stored and managed on CI, etc. So let’s think a bit about how we can achieve it.
If you are working in a team with many developers, and have an API key that’s stored on CI that you want to set in the Info.plist. A specific feature depends on the key to be properly set up otherwise it won’t work. What would you do? A few steps to take could be:
- Store the value on CI with an identifiable name, let’s call it
APP_SECRET_VALUEfor now. - Create a fastlane lane named
create_secrets_env_fileto load the value from CI and write it to a file located in the project’s directory:./app-secret.env. Don’t forget to add the file path to.gitignore. This lane should be called on CI before deploy or upload to app store tasks - Create a shell script
set_app_secrets.shto run in Build Phase to load the value fromapp-secret.envand dynamically inject it intoPreprocessed-Info.plist
create_secrets_env_file lane
desc 'Create app-secret.env for XXX Settings.'
private_lane :create_secrets_env_file do
  begin
    sh("echo APP_SECRET_VALUE=#{ENV[APP_SECRET_VALUE]} > #{PROJECT_ROOT}/Mercari/app-secret.env")
  rescue
    UI.message("create app-secret.env file failed.")
  end
end
set_app_secrets.sh
#!/bin/bash
set -e

if [[ -z "${SRCROOT}" || -z "${TEMP_DIR}" ]]; then
  echo "Missing build-system environment variables. This script should be run as a Xcode build phase script"
  exit 1
fi

# Load secret values from .env file
if [ ! -e "${SRCROOT}/Mercari/app-secret.env" ]; then
  echo "warning: ${SRCROOT}/Mercari/app-secret.env is missing. Please copy ./Mercari/app-secret.env.sample and fill the secret values"
  exit 0
fi
source "${SRCROOT}/Mercari/app-secret.env"

PLISTBUDDY_BIN="/usr/libexec/PlistBuddy"
APP_INFO_PLIST="${TEMP_DIR}/Preprocessed-Info.plist"

APP_SECRET_KEY="" //Info.plist key name

if [ -z "${APP_SECRET_VALUE}" ]; then
  echo "warning: app secret value is missing. Please set APP_SECRET_VALUE in ./Mercari/app-secret.env"
  exit 0
fi

$PLISTBUDDY_BIN -c "Delete ${APP_SECRET_KEY}" "${APP_INFO_PLIST}" 2> /dev/null || true
$PLISTBUDDY_BIN -c "Add ${APP_SECRET_KEY} array" "${APP_INFO_PLIST}"
$PLISTBUDDY_BIN -c "Add ${APP_SECRET_KEY}:0 string ${APP_SECRET_VALUE}" "${APP_INFO_PLIST}"
This shell script will emit a warning message in build logs if it cannot find APP_SECRET_VALUE, but won’t fail the build. By allowing the execution to succeed using exit 0 even if an error happens, engineers can work on the project without caring about the app-secret.env file locally. To prevent the feature that requires it to be triggered without the key/value properly set, check if this value exists in Info.plist using the following code, in your swift code before starting the feature:
//Is APP_SECRET_VALUE properly set? Check value is present in info.plist
        guard Bundle.main.object(forInfoDictionaryKey: "##PUT APP_SECRET_KEY HERE##") != nil else {
            let alert = UIAlertController.ok(title: "Settings Missing", message: "app-secret.env file is not set and cannot proceed.")
            present(alert, animated: true)
            return
        }
This prevents unresponsive behavior or even app crashes when the user initiates an action to open the feature but the API Key is not set. Ideally, add a test case in your release regression test to confirm that the app secret key/value is set properly.
Conclusion
In this article we went through a few ways to make setting and managing the Info.plist easier as your app is scaling up.
Special thanks to @kateinoigakukun who helped with details in the shell script and @kitasuke who wrote a great summary about using PlistBuddy to handle ATS.


