This post is for Day 16 of Mercari Advent Calendar 2023, brought to you by Lukas Appelhans, an Android engineer in the Client Architecture team.
Have you ever been slightly uncomfortable with shipping UI code because you couldn’t write automated tests for it? Or you spent a lot of time manually testing all combinations of parameters that a piece of UI could be rendered with?
When I became an Android developer a few years ago, I was surprised how normal it was to ship UI code to millions of users without any tests. For that reason, I became interested in visual regression testing – sometimes also called screenshot testing.
Last year, we wanted to close this testing gap for our Android developers at Mercari, and I finally got the opportunity to work on the necessary infrastructure to make that happen. This blog post will walk through some of the decisions we made when evaluating frameworks, the steps we took to implement the CI/CD pipeline and how we use screenshot testing.
A few months ago I presented about this topic at Droidkaigi – the talk is a lot more detailed than this article can be, so please take a look here if you want to understand more of the details or just prefer to watch a video instead of reading.
Why?
The short answer to the question of why we need visual regression tests is to ship UI code more confidently. This answer can be broken down into two significant contributors.
When all UI changes have to be tested manually, we often need to leave testing gaps due to the time needed to execute the tests. This is obviously the case when we do small changes to the UI and cut corners because we believe that regressions are unlikely. However, even larger UI changes rarely get tested on different form factors, screen densities or even with a large range of valid input values. Automating tests does not just reduce the total execution time and free resources that were needed for manual testing — it also enables us to add more test cases or run existing test cases on multiple device configurations.
Aside from increasing the quantity of test cases, screenshot tests also make them qualitatively better. One of the fundamental problems of manual visual testing is that it is hard to spot visual differences — even when comparing two screenshots side-by-side. Visual regression testing frameworks provide tools to review visual changes when they occur, effectively reducing the burden to spot visual differences with bare eyes.
So in summary, they’ll not just allow you to run more test cases against your code changes, but also make visual testing faster and more accurate.
How screenshot tests work
Compared to the classic test types such as unit tests, integration tests or E2E tests, screenshot tests have one particular difference: It’s not possible to write an automatic verification whether the rendering of a piece of UI code looks “good”. In other words: Given the classic given/when/then structure of a test case, the “then” condition cannot be automatically verified in screenshot tests.
Instead, given a set of code changes, screenshot tests check if the way a specific piece of UI code under test renders the same way it did before the change was applied. If differences were found, it asks for manual review. Because of that, screenshot testing frameworks typically come in two parts: 1) A testing framework that renders UI code into screenshots and 2) a way to visualize the differences found between two iterations of screenshots.

A report of visual differences generated by reg-suit
Which screenshot testing framework we picked
When we first evaluated which screenshot testing frameworks we could use in April 2022, we were in the middle of finishing a full rewrite of the Mercari app codenamed “GroundUp”.
We were an early adopter of Jetpack Compose, and it seemed that the two main framework candidates for screenshot testing at the time were Shot, which had already added support for Compose, and Paparazzi, where we could see support being added on the master branch.
To evaluate these two frameworks, we have to understand that they differ fundamentally in the approach they use to generate screenshots.
Test cases for Shot run as instrumented tests – meaning they get executed on a device or emulator in an environment that is relatively close to how code would be rendered in the real world.
On the other hand, Paparazzi’s test cases run directly on the machine that executes the tests. They use a library called layoutlib which is part of Android Studio to render previews. This means that the execution time is much faster compared to Shot’s instrumented tests (~10x difference according to measurements at the time).
In simplified terms, one could say that this decision is a tradeoff between correctness and speed.
Given the size of our codebase and that we want to keep low CI/CD build times to keep our development velocity, we decided to use Paparazzi.
How to set up the CI/CD pipeline
As mentioned above, screenshot tests are effectively a way to make UI changes explicit. This is especially relevant when reviewing pull requests – so setting up a CI/CD pipeline to provide an easily accessible visual difference report is crucial.
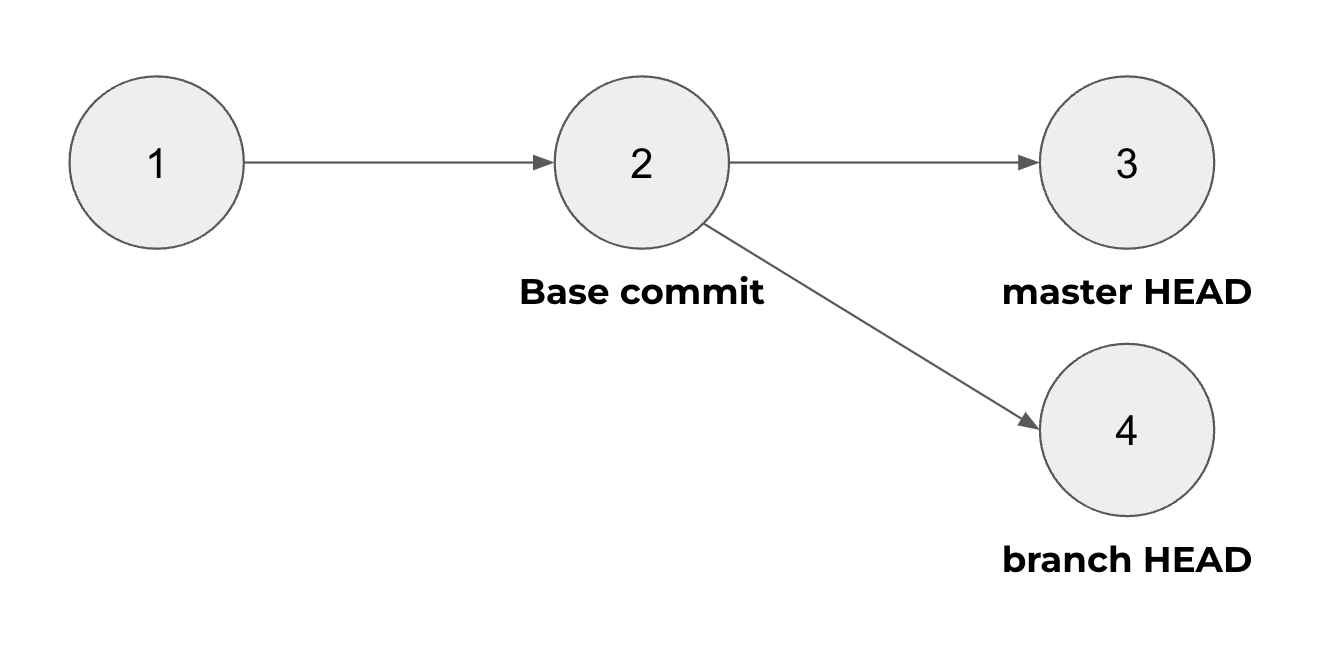
To generate a report of visual differences, we need to compare screenshots of two different git revisions. Naïvely, one might think that it’s a comparison between the branch we want to merge into master, and master itself. However, since changes are continuously merged into master, screenshots from master may already include further UI changes. Instead we want to compare to the point in time when our branch got created off master.
In a typical Paparazzi setup, screenshots would be stored within git (using git-lfs) – however, to avoid merge conflicts when working on large scale visual changes, it is more practical to store them outside of git. Screenshot tests have already been used by our iOS team for a while, and since they use reg-suit to both store screenshots in the cloud and create a report of visual differences, we decided to adopt the same.
That being said, the CI/CD pipeline effectively becomes three steps:
- Generating screenshots from test cases.
./gradlew :recordPaparazziDebug - Copying those screenshots from each module into a single directory that is compared to the version stored in the cloud.
- Run reg-suit to generate the report of visual differences.
npx reg-suit run
How to write tests
Since the verification of the post-condition is not specified in the code anymore, test cases are even simpler than traditional tests.
class ChipScreenshotTest {

  @get:Rule
  val paparazzi = MercariPaparazzi()

  @Test
  fun shortLabel() = paparazzi.snapshot {
     Chip(
         label = "Foo",
         selected = false,
         onSelectionChanged = {}
     )
  }
}
Paparazzi is shipped as a JUnit test rule that exposes a function to take screenshots. We decided to create a wrapper that enables us to add some additional functionality – for example taking one screenshot for both light and dark mode.
Summary & Future
We have used screenshot tests for about nine months in our Android codebase, but have limited adoption mainly to shared components in our design system. The tests have been very helpful, both when refactoring implementations, adding new parameters to existing components as well as adding new components. We find that it has been easier to correctly implement UI specifications, review pull requests with UI changes, and based on those two our development velocity has increased.
In our experience, Paparazzi has been very stable and fast, but we’ve also faced some minor issues. Since the landscape of available frameworks has changed since we last evaluated it, we plan to look at it again to see if any changes would improve our setup.
Currently, the usage of our screenshot tests is limited to UI components in our design system module. We believe that expanding the usage of screenshot tests to cover feature screens will add additional benefit. Not only can we ship feature code with higher confidence, we can also observe how UI component changes get reflected in each feature screen.
Tomorrow’s article will be by cafxx. Look forward to it!